Decobry, as a versatile self-adhesive vinyl film, is perfect for revamping furniture, countertops, walls, and other smooth surfaces. Applying it correctly ensures a bubble-free, professional finish. The process is DIY-friendly, but preparation and patience are key. Below, I’ll outline the tools, steps, and tips based on best practices for similar products.
Tools You’ll Need
To apply Decobry effectively, gather these essentials:
- Measuring tape or ruler for accurate sizing.
- Utility knife or sharp cutter for trimming.
- Squeegee (felt-edged preferred) or a plastic card for smoothing bubbles.
- Heat gun or hairdryer for curves and edges.
- Clean cloth or microfiber towel, plus mild soap, isopropyl alcohol, or sugar soap for surface prep.
- Optional: Spray bottle with water and a drop of dish soap for wet application on larger areas.
Step-by-Step Application Guide
Follow these steps for a smooth installation on flat or slightly curved surfaces like tables, cabinets, or dressers.
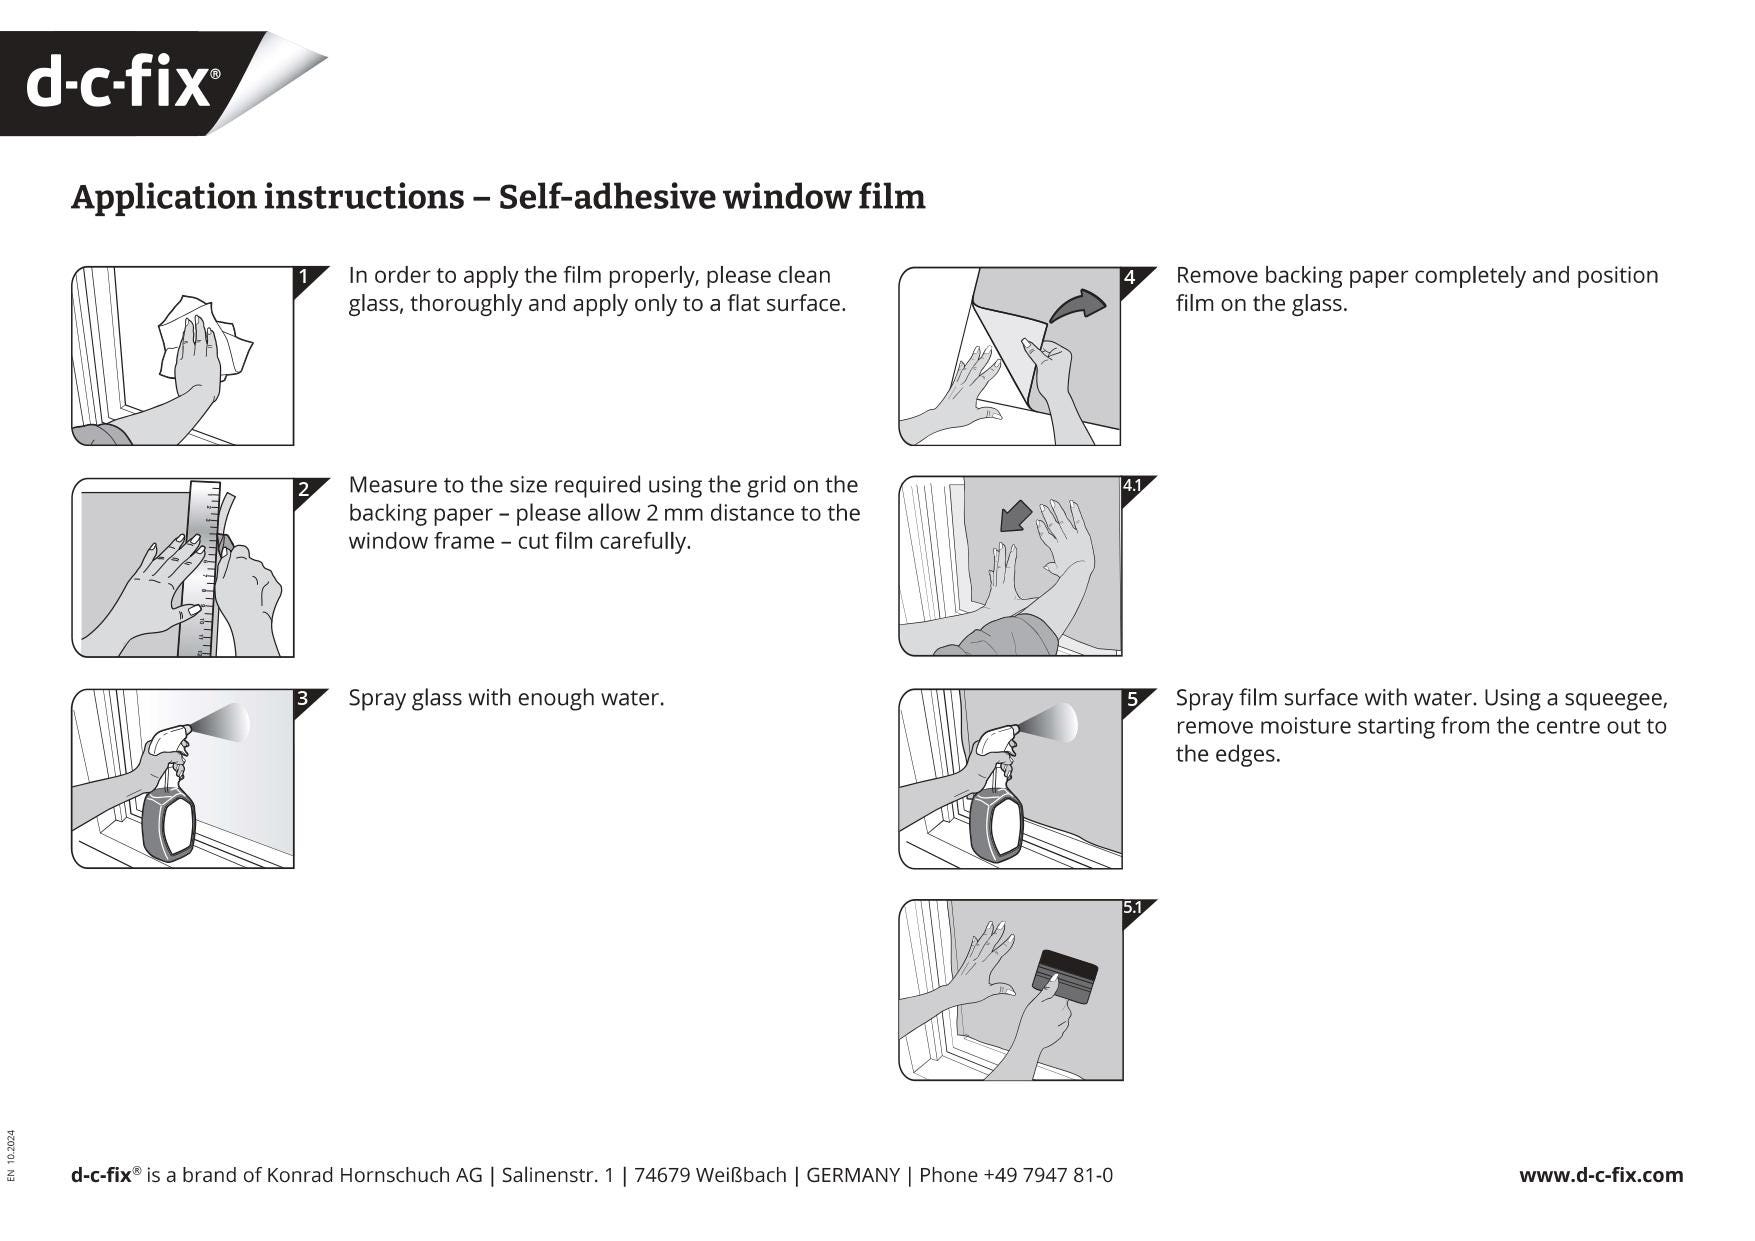
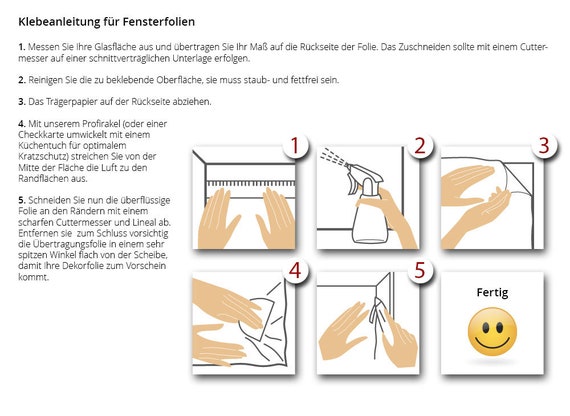
- Prepare the Surface: Clean the area thoroughly to remove dust, grease, dirt, or old residue. Use a mild detergent, isopropyl alcohol, or sugar soap with a clean cloth. Ensure it’s completely dry—any moisture or debris can cause poor adhesion or bubbles. Inspect for imperfections; sand rough spots if needed for a smooth base.
- Measure and Cut the Film: Measure the surface dimensions and add at least 1-3 inches of overhang on all sides for trimming. Place the Decobry film backing-side up, mark your cuts with a straight edge, and trim carefully with a utility knife. For precision, double-check measurements to avoid waste.
- Peel and Position: Peel back a small section (about 2-4 inches) of the backing paper from one edge, folding it under itself. Align the exposed adhesive with the surface’s edge (use masking tape to hold if needed). For larger pieces or easier repositioning, lightly mist the surface with soapy water—this allows sliding without immediate sticking. Avoid touching the adhesive side to prevent fingerprints or dirt.
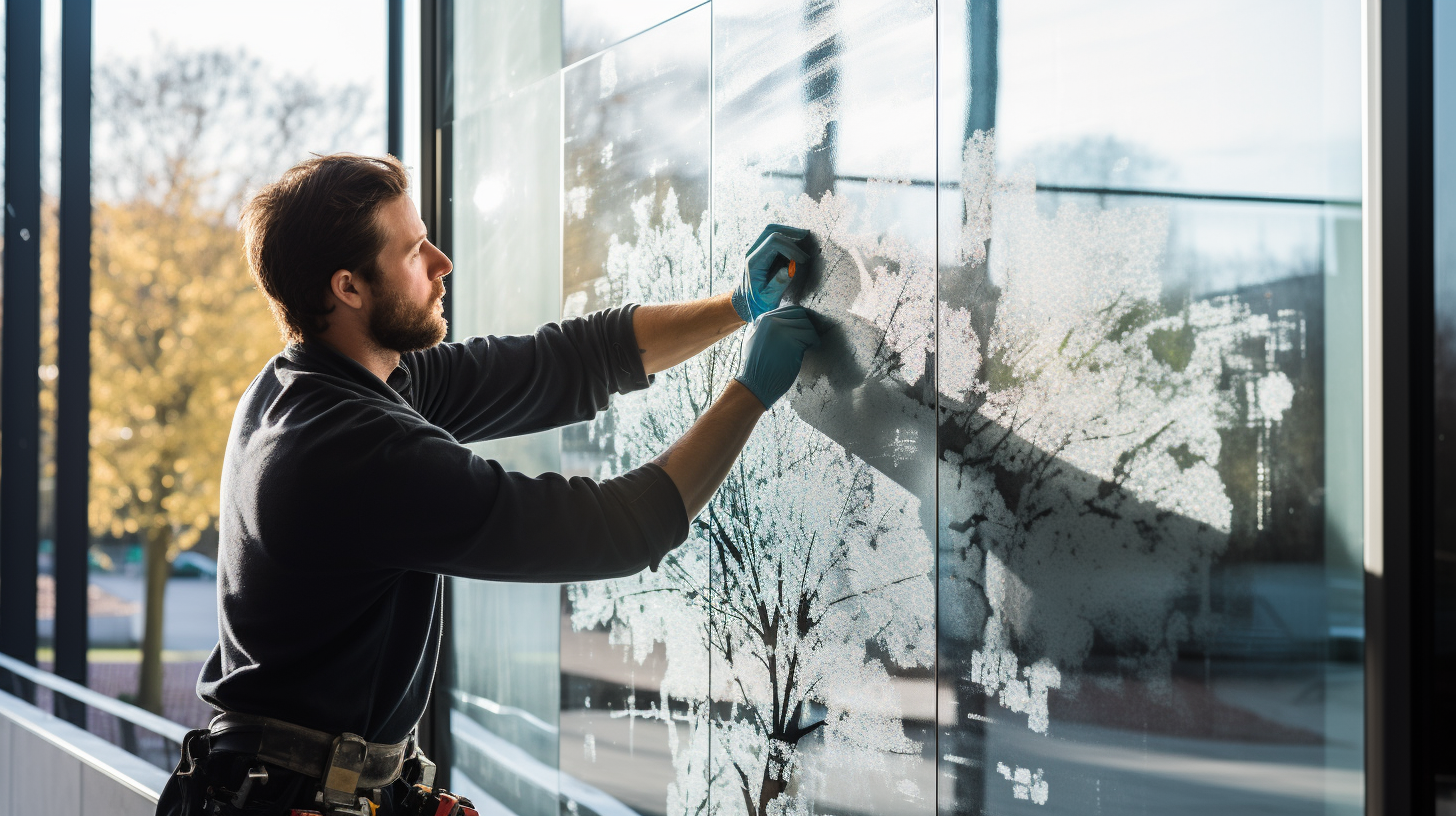
- Apply and Smooth: Stick the initial section down, then gradually peel more backing while smoothing from the center outward with a squeegee at a 45-degree angle. This pushes out air bubbles and ensures even adhesion. Work slowly in sections to prevent creases. If bubbles form, lift the film gently and reapply.
- Handle Edges and Corners: For edges, warm the film with a hairdryer while pulling it taut and pressing down. On corners, heat the film to make it pliable, then make a 45-degree cut from the vertex to create flaps. Fold and trim each flap, engraving about 0.5 cm from the edge to remove excess. Repeat for all sides.
- Trim and Finish: Once fully applied, trim overhang with a utility knife along the edges for a clean fit. Squeegee again to remove any remaining bubbles or moisture. Allow 24 hours for the adhesive to cure before heavy use or cleaning.
Tips for Specific Scenarios
- Curved Surfaces: Apply heat generously to soften the film, making it easier to conform without tearing. Use fingers or a spatula to shape it.
- Bubble Removal: For small bubbles, puncture with a pin and press out air. Larger ones? Lift and re-squeegee. Always work from center to edges.
- Wet vs. Dry Application: Use dry for small, simple projects. For big areas or repositioning, wet the surface lightly—it evaporates without residue.
- Teamwork: For large pieces, have a helper to peel backing while you smooth.
Common Mistakes to Avoid
- Rushing the process: Work patiently to prevent creases or misalignment.
- Skipping cleaning: Dirt weakens adhesion and causes lifting.
- Over-stretching: Vinyl can distort if pulled too hard—use heat instead.
- Applying in cold conditions: Room temperature (above 50°F) ensures better sticking.
Maintenance and Removal
Wipe Decobry surfaces with a soft cloth and mild soap—avoid abrasives or harsh chemicals. It’s durable and heat-resistant up to 70°C. For removal, heat with a hairdryer, peel slowly from a corner, and clean residue with alcohol.
With these tips, your Decobry project should turn out flawlessly. If you’re new to this, start with a small test piece!


